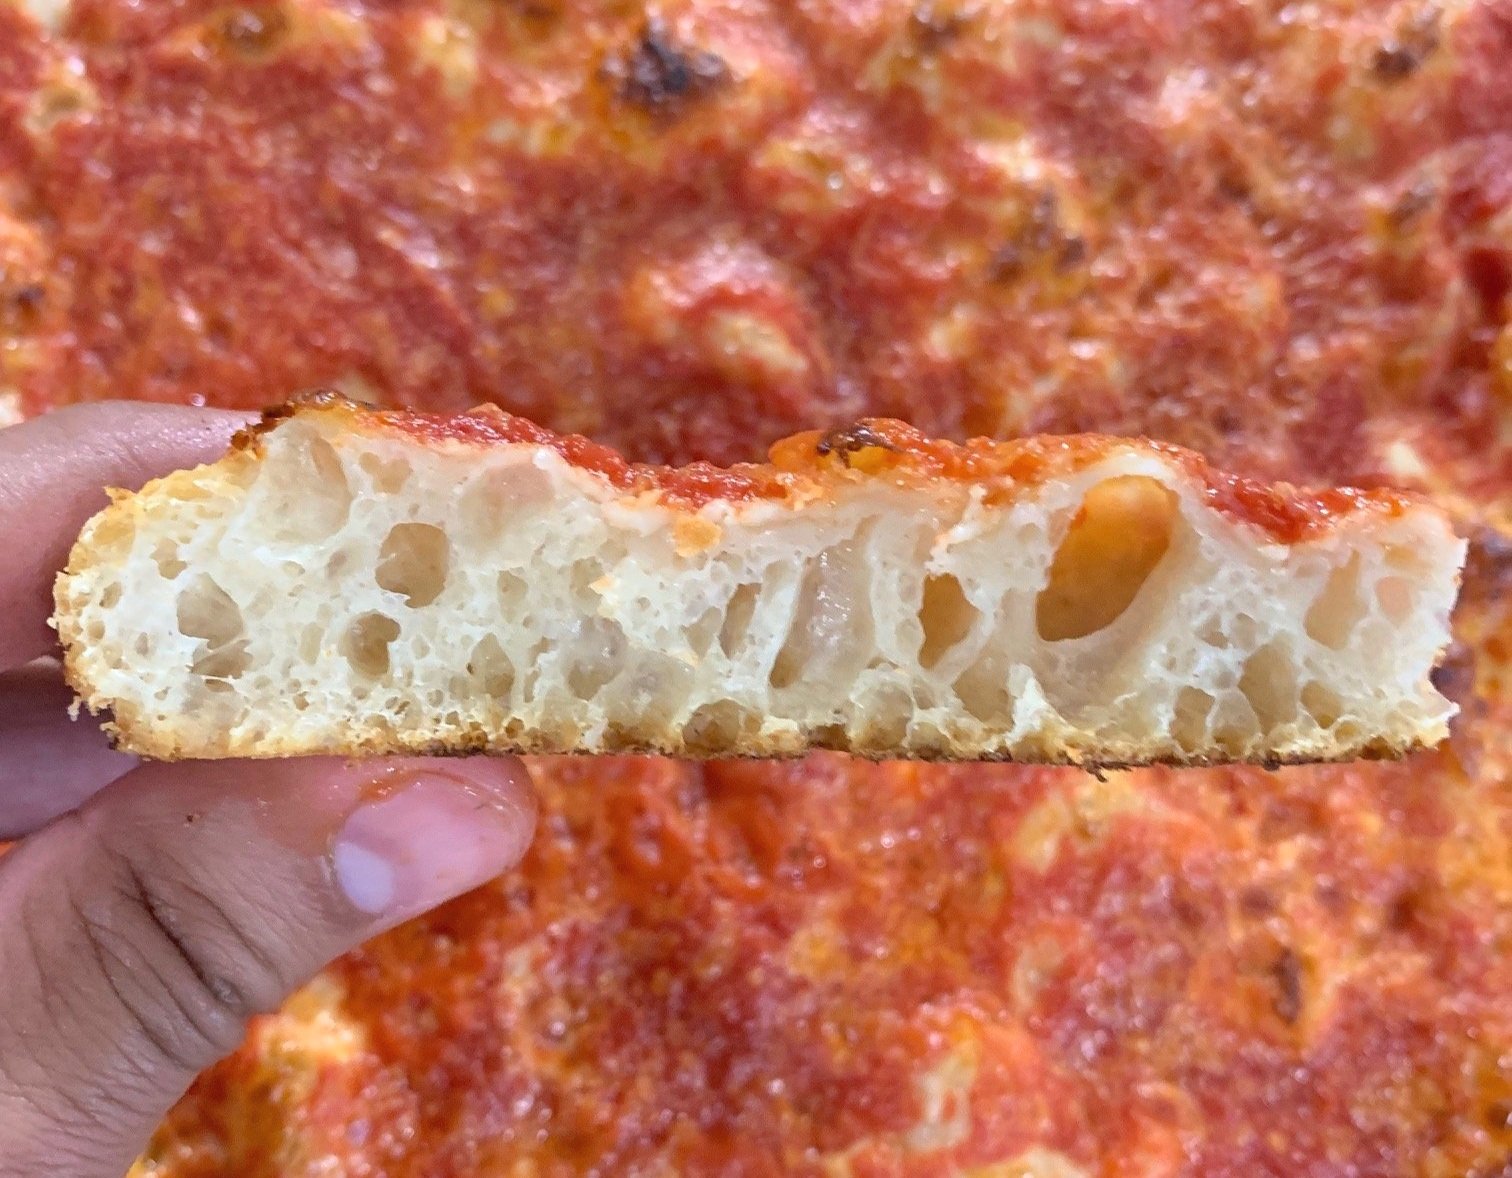
SIMPLE SICILIAN PIZZA DOUGH
My home pizza-making philosophy is simple - convenience. That's not to be confused with lazy or compromising as it actually takes a lot of experimenting and tweaking to make a good recipe convenient. And it's worth it. It means you can go to it very easily, without much advance notice, using standard ingredients and techniques, and still be able to feed a good amount of people great pizza. That is the basis of this recipe and that is why it's my favorite pizza to make at home.
Pizza-making should be fun and enjoyable, and you shouldn't have to know by Monday whether or not you can have homemade pizza on Friday. First of all, you should always have pizza on Friday's, and second, that's too much planning and too much stress for pizza. If your friends say they're stopping by for pizza tomorrow night you shouldn't start panicking. You should feel confident that you can still make them something awesome. Don't be that pizza-maker that tells them, "sorry about the burgers, guys, my pizza dough needs 12 hours at room temp, plus 3 days in the fridge, plus another 12 hours on the counter. Why couldn't you call me on Monday?" Total downer. That's why you have a recipe like this.
You'll notice, FOR CONVENIENCE, there is no need to mix earlier than the night before, no refrigeration is required, and all the rising, stretching, topping, and baking will be done in the same pan. You'll also notice the recipe is just for the dough, and at the end you'll have a nice blank canvas which we'll keep referring to for future topping and baking recipes. So here we go, HERE IS THE RECIPE:
Ingredients
570g Bread flour (Caputo Americana or King Arthur)
380g Cold water
5g Active dry yeast
16g Salt
25g Extra virgin olive oil
Tools
Steps
1. Add the yeast and then water in a small mixing bowl and stir rigorously to break up any clumps and until cloudy as shown. I like to stir with a fork. Let the yeast and water mixture sit for about 10 minutes.
2. Add the flour to your mixing bowl. I like to shake the flour to one side as I feel it helps incorporate the water during mixing.
3. Add the yeast and water mixture to the mixing bowl on the side opposite the flour.
4. Using the hook attachment, mix on the lowest speed for about 60-90 seconds.
5. Once the mixture looks like the picture shown below, add the extra virgin olive oil.
6. The oil will add flavor, golden color, and will help bind the flour on the sides of the bowl. No need to stop the mixer while you add the oil.
7. Continue mixing on the lowest speed until all the dough is formed and no flour is left on the sides of the bowl.
8. Cover the bowl with a towel and let the dough rest for about 20 minutes
9. After resting, the dough should look similar to below. Add the salt and mix on the second lowest speed for another 1-2 mins. The salt should incorporate and you should not feel any grains on the dough.
10. Drizzle some extra virgin olive oil on your 18 x 13 half-sheet pan as shown.
11. Spread the extra virgin olive oil with your hands so the entire pan is coated.
12. With lightly oiled hands, remove the dough ball from the mixer and firmly push it into a ball by pulling and pushing several times (less than a minute). When you feel like you have a nice shape, use the oil in the pan to make sure the dough ball exterior is lightly oiled and place it in the middle of the pan. Cover with plastic wrap.
13. Leave the covered dough on the countertop until it is time to cook. After 12 hours the dough should look something like this.
14. At this point, the dough is ready to stretch. However, if it’s still not time to eat, you can leave the dough alone for another 4-6 hours and it will be just fine.
15. If you have even more time, this allows for a double rise. That means, after the dough has been resting and rising for 12 hours, and you still have another 8+ hours until it is time to bake, you can gently re-shape it back into a ball and make the rise “start over”. Below is the dough re-shaped after 12 hours. Again, only do this if you have the time. Meaning, don’t re-ball and expect to be able to stretch out the dough only an hour later. I typically draw the line at 8 hours. If I don’t have another 8 hours, I don’t re-ball.
16. The second rise will create a more uniform and consistent hole structure across the pizza which also makes for a more consistent top bake as well. After the second balling, the dough ball will be a little bigger and smoother than the first rise and also feel a little inflated. Also, if you notice olive oil disappeared from the pan, just re-spread out the remaining oil so the whole pan is covered. Keeping the pan oiled will help prevent the pizza from sticking when it is time to take it out of the pan. Below is dough 10 hours after re-ball, 22 hours after initial mix. This dough is ready to go now, but can also wait another 6-8 hours and be just as good.
17. About an hour before it is time to top and bake the pizza, stretch the dough by pushing your fingertips into it and then spreading your fingers apart as shown. This is also a good time to preheat the oven at 500F. If you have a convect or fan-bake feature on your oven that works real nice, otherwise bake is fine.
18. You will notice it is pretty easy to get the dough to look like the picture below, but it will feel impossible to get it all the way to the corners. Don’t worry, this is normal. Instead of forcing it you need to let the gluten relax one more time before you can stretch it all the way to the corners. 20 minutes will do the trick, but I like to give it an hour. It’s not that long if you’re waiting for the oven to heat up and you still have sauce and topping prep to do.
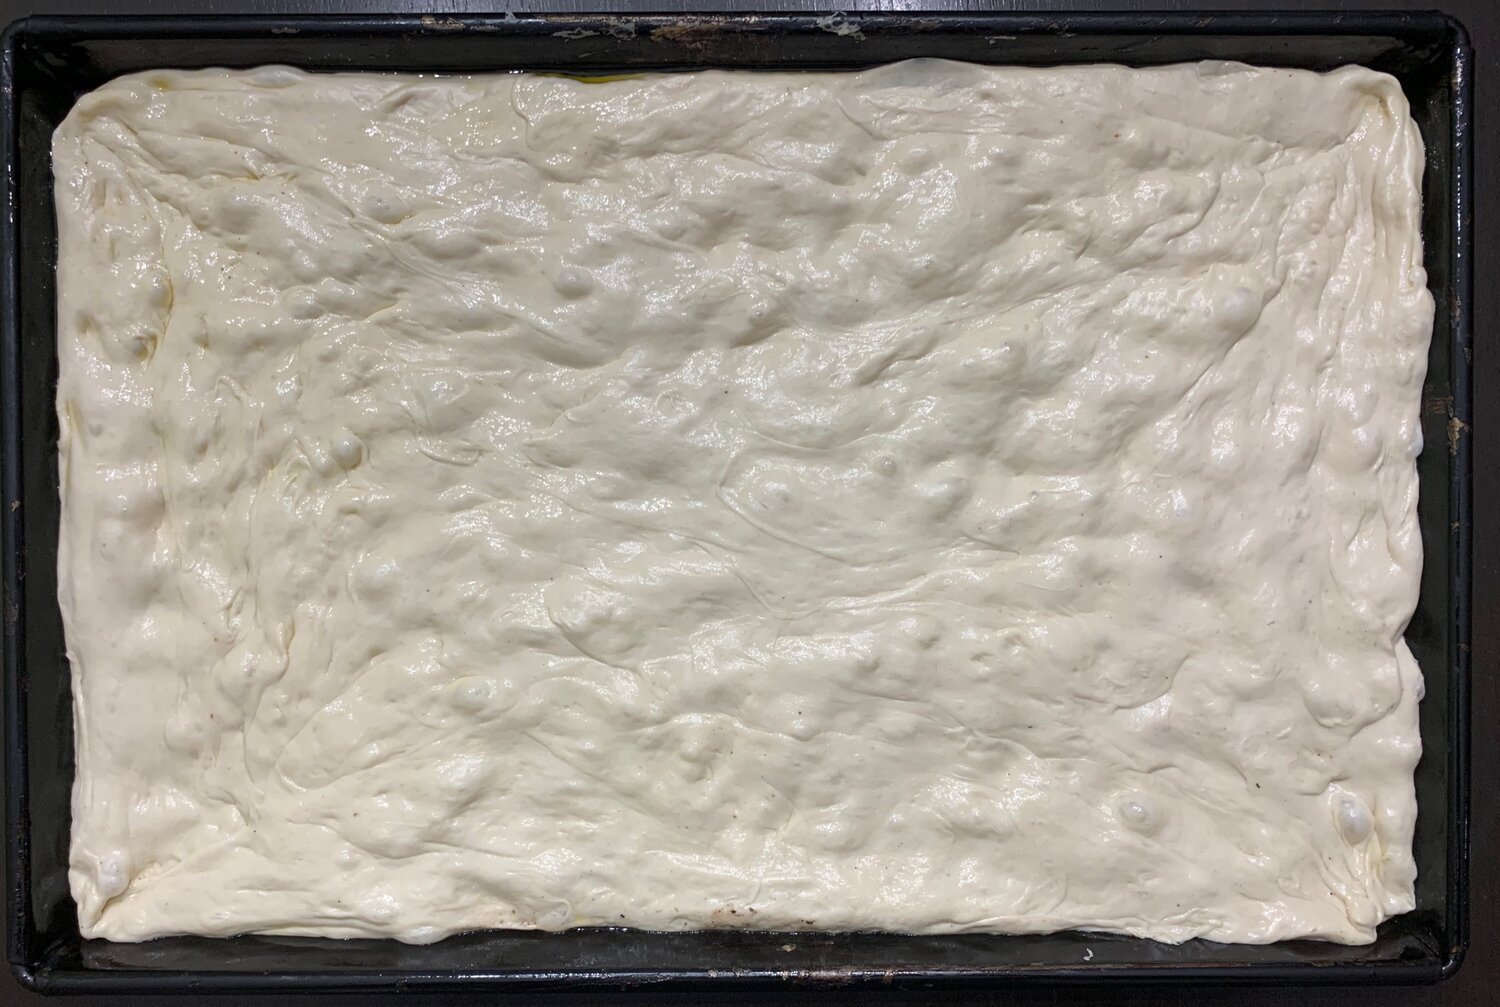
19. Once 20-60 minutes has passed, stretch the dough just like before and it should fill the pan as shown. If it still feels like you can’t get it all the way to the edges, try lifting the short side of the dough off the pan and gently pulling toward the edges and corners. Just be careful not to pull any holes.
And that’s it for the dough! Topping technique, topping combos, and baking will be covered in their own recipes!


